Capture the thrill of aerobatic flight with the right GoPro settings. You can make amazing videos of your aerial stunts.
This guide will help you pick the best settings and camera. You’ll also learn how to edit your videos like a pro.
We’ll cover everything you need to know about aerial photography. From choosing the right GoPro to mounting it correctly.
Get ready to make awesome videos that will amaze your viewers. Your footage will take them right into the cockpit with you.
Understanding Aerobatic Flight and Its Challenges
Filming aerobatic stunts is tough. Pilots and equipment face extreme G-forces during these daring maneuvers.
Rapid lighting changes and unpredictable flights make camera work challenging. Keeping the camera steady and getting good footage is tricky.
Loops, rolls, and spins can create forces up to 8Gs. This can make cameras shake a lot.
Changing light conditions affect exposure and white balance. This can lead to poor-quality video.
To overcome these issues, you need to know about flying and cameras. The right camera settings can help with G-forces and lighting problems.
Using gimbals or electronic stabilization can improve video quality. These tools help capture smooth footage during aerobatic flights.
Choosing the Right GoPro Model
Not all GoPro Hero models are equal for capturing aerial maneuvers. Choose a camera that can handle extreme conditions and high-speed adventures.
The Hero9 and Hero10 are great for aerobatic flight compatibility. They have better image stabilization and work well in low light.
Older models like Hero5 or Hero7 may not meet aerobatic flight needs. They lack advanced features to handle g-forces and changing light conditions.
Look for high frame rates and video resolution when picking a GoPro. Water resistance is also important for your aerial videos.
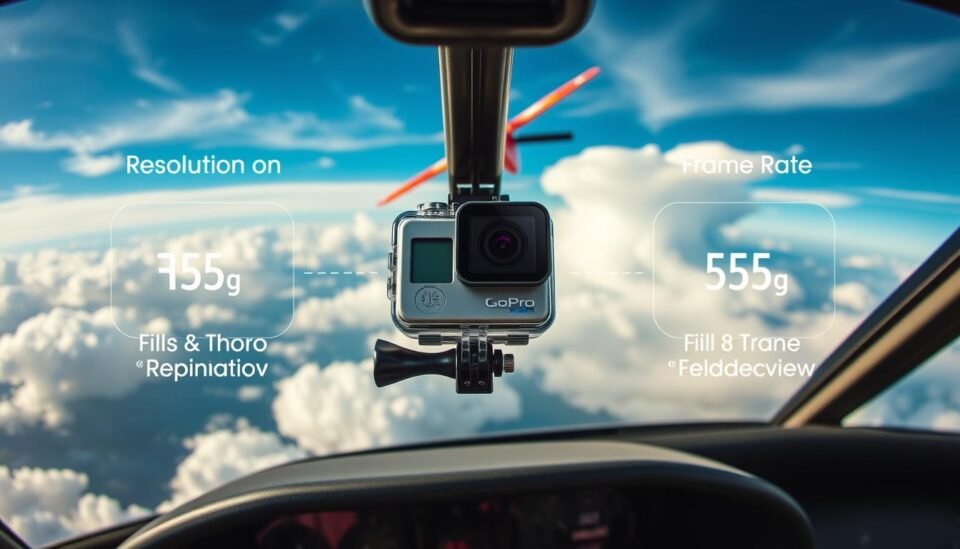
Essential Camera Settings for Aerobatic Flights
Capturing aerobatic flights requires more than just a GoPro camera. You need to optimize your camera’s settings for smooth, detailed footage.
Aim for at least 60 frames per second (fps) for silky smooth footage. Higher frame rates like 120 fps or 240 fps can be even better.
Choose 1080p or 2.7K resolution for crisp details without taxing storage. The latest GoPro models can use 4K for stunning results.

The field of view (FOV) setting impacts your footage significantly. A wider FOV captures the full scope of your aerobatic maneuvers.
“SuperView” or “Wide” settings create a more immersive viewing experience. Be aware that wider FOV may cause some visual distortion.
Optimizing these settings will help you capture amazing aerobatic footage. Your GoPro can showcase the magic of aerobatic flight to the world.
Optimizing Your GoPro for Action Shots
Precise GoPro settings are key for dynamic aerobatic flight shots. Fine-tune ISO, shutter speed, and color profiles for sharp, well-exposed footage.
Adjust ISO to balance image quality and low-light performance. Higher ISO helps freeze action but may increase noise.
Set a fast shutter speed to capture crisp aerobatic maneuvers. Aim for at least 1/500th of a second or higher.
Choose color profiles that make your footage pop. Try GoPro’s “Vivid” or “Flat” settings for your style.
Master these settings to create stunning aerobatic footage. Practice and experiment to unlock your GoPro’s full potential.
You’ll capture thrilling moments that will amaze your audience. Your footage will showcase the intensity of your flights.
Tips for Mounting Your GoPro on Aircraft
Proper camera mounting is key for stable and clear aerial footage. Learn about mounting options, vibration reduction, and aerodynamic considerations for your GoPro.
Camera mounts stabilize your GoPro during high-speed maneuvers. Suction cup mounts offer secure placement on the aircraft’s exterior.
Wing-mounted camera mounts provide a unique view. However, they require careful attention to aerodynamics.
Vibration reduction is crucial for smooth footage. Use a gimbal or stabilizer to counteract turbulence and airflow.
Consider aerodynamics when positioning your GoPro. Minimize drag and ensure a streamlined profile to maintain aircraft performance.
Carefully evaluate camera mount placement. Avoid interfering with airflow or creating unnecessary drag.
Master GoPro mounting to capture thrilling aerobatic flight footage. Try different options and focus on vibration reduction for best results.
Post-Production: Enhancing Aerobatic Footage
Make your aerobatic flight footage shine with post-production magic. Use top video editing software to turn raw clips into visual wonders.
Try Adobe Premiere Pro, Final Cut Pro, or DaVinci Resolve. These tools help boost colors and contrast in your aerial stunts.
Smooth out camera shakes with stabilization tools. This creates fluid, cinematic shots of your thrilling aerobatic moves.
Transform ordinary videos into eye-catching productions that wow viewers. Unlock your GoPro footage’s full potential with smart editing tricks.
Focus on color grading and stabilization for the best results. Your audience will be glued to every heart-pounding moment.